Your total metal component manufacturing solution
Your total metal component manufacturing solution
Following the metal cleaning process, a UV photo sensitive resist is applied to both sides of the metal sheets, using heated rollers. In the video, you can see the blue-tinted photo resist rolls at the top and bottom of our rather impressive piece of kit.
Once the sheets are properly coated, they are trimmed to remove any excess resist from the metal, leaving clean edges and smooth surfaces ready for the next step in metal preparation.
The next stage is to use a clear acetate photo-film artwork profile of the shape and/or design to be etched. Then, our two-sided photo tool (which you can see in the video as two large black frames) is placed on either side of the metal sheet and pin-registered to ensure both sides line up and mate correctly.
When everything is in place, we expose the sheet and the artwork to a UV light, which exposes and hardens the untouched areas of the metal sheet; that is, the parts on which there is no artwork profile design.
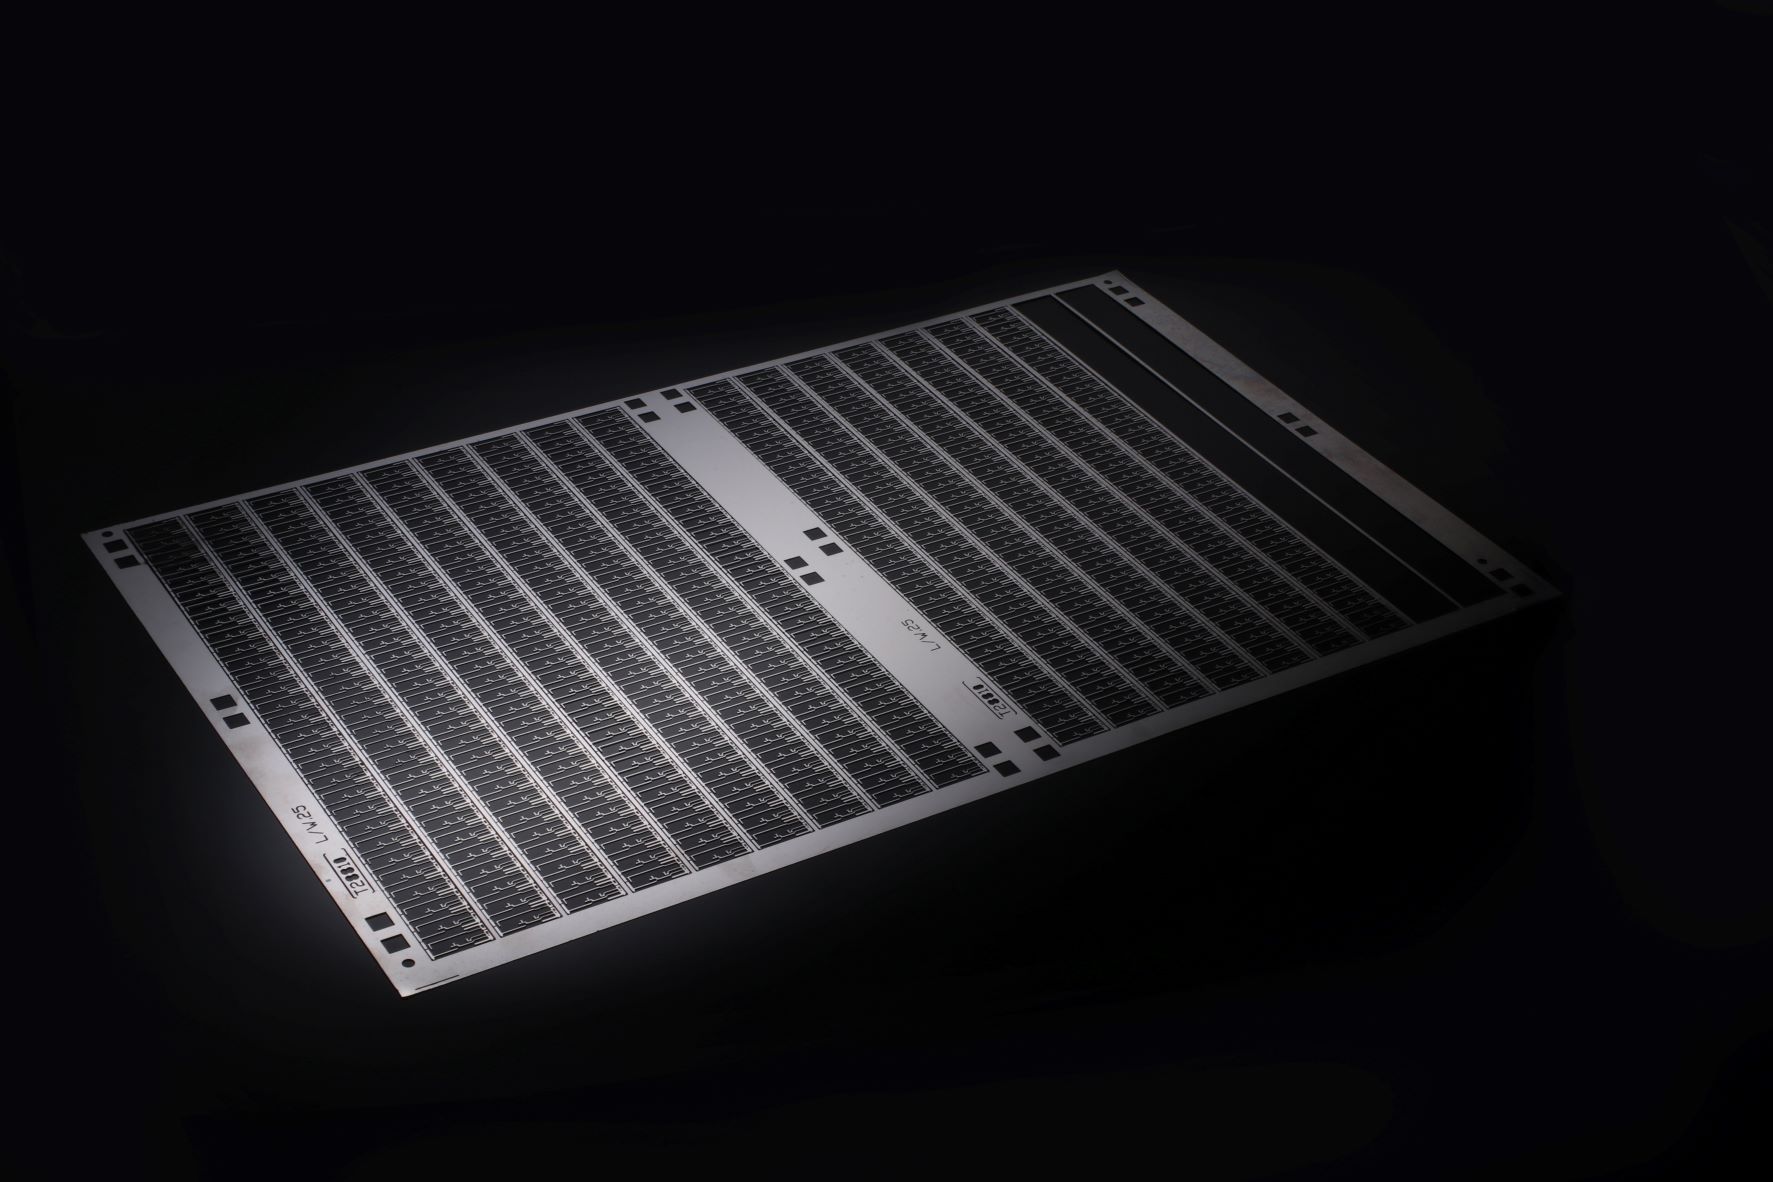
After this, the sheet is ready for developing. This development stage is where the softened resist lines that were beneath the artwork design are washed away, leaving an etched track line ready for the photo chemical etching stage.
Check out the next video instalment for the all-important chemical etching and resist stripping stage of the process!